Confidently print eye-catching labels for your next project! Follow these 5 tried and tested tips to produce professional-looking labels each and every time!
Choose the Best Quality Labels
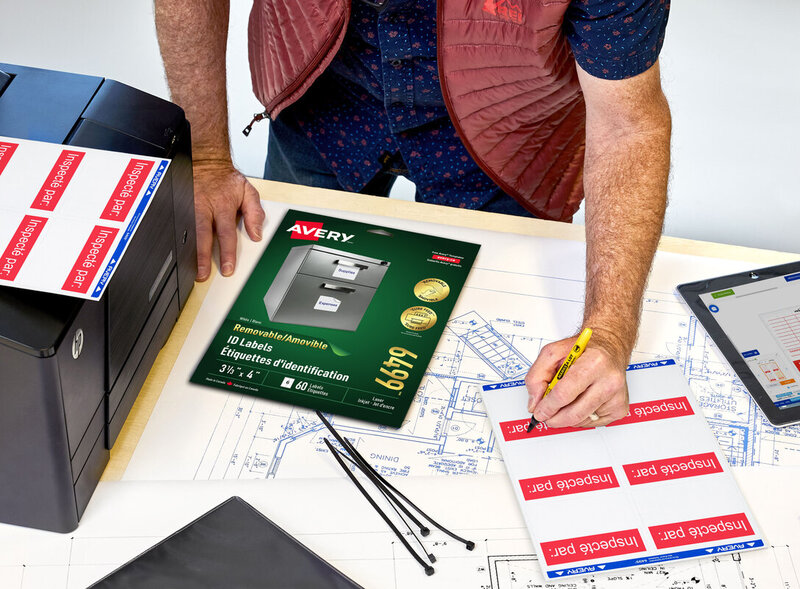
The first step toward producing high quality printed labels begins with the labels themselves. High quality labels are the key to producing labels that look beautiful, perform optimally, and stay in place after application.
Labels from Avery have been specially developed to help users achieve prints of the highest quality!
- Dual Technology –Avery has taken steps to simplify the label shopping process! That means producing label sheets that can be used on both laser and ink jet printers. In fact, nearly all of our *paper-based labels can be used with both printer types. This includes our standard White Rectangle Labels, Kraft Brown Labels, Neon Labels, Removable Paper Labels, Eco-Friendly and Hemp Labels, along with our selection of Clear Labels (with the exception of Static Cling Labels).
- Sure Feed Technology – Sure Feed Technology places unique "grip" strips on printable sheets that helps the sheets move smoothly through standard desktop and office printers. Avery products with Sure Feed technology print with fewer misalignments and paper jams, resulting in a reduced number of wasted sheets, which saves money!
Check the Label Sheets
Prior to loading your label sheets, be sure to visually inspect them. Ensure that none of the sheets are curling, torn or folded.
It is also important to avoid printing on sheets with missing or loose labels. This means that you should only run the label sheets through your printer one time! This is important, because the heat and tight paper path of a printer can cause the label to curl after multiple passes through the printer. This could cause the label to jam or peel off inside the printer!
Feed the Sheets Carefully
Correctly feeding label sheets into your printer can go a long way toward ensuring well-aligned printouts! Begin by fanning your sheets to prevent pages sticking together. When adding labels to the printer tray, fill only to about ½ or ¾ the capacity, then bring the guides in to ensure a snug fit in the tray. If you will be printing only one or two label sheets add a few sheets of paper to the bottom of the stack.
Verify Your Printer Settings
Prior to hitting the print button, take a moment to review and adjust your printer settings. Note: if you do not see some of the below-mentioned settings, looks for a link that says: “Print Using System Dialog”.
Here are several settings to verify or adjust before you print:
- Paper size –ensure that your printer is correctly set to print your Avery label sheets. This means 8 ½“ x 11” for most products and 4” x 6” for smaller label sheets.
- Page Scaling or Print Size –if this is one of your printer’s settings, make sure that it is set to 100% or Actual Size.
- Paper Type –Change the Paper Type settings to Labels, Heavyweight, or Thick to help your printer draw the sheets through more effectively.
- Print Quality –Adjust your quality settings to work with your specific label materials. For glossy labels, set quality to Normal or Plain Paper (to avoid ink smearing). For all other labels use the Best or High Quality settings.
Run a Print Test
It’s always a good idea to run a test print on a plain piece of paper prior to printing your labels. This allows you to see the alignment and ensure that all of your print settings are correct.
*Film and Vinyl labels are Laser printer compatible only

Validate your login